
Basic tattoo design preparation
In this article:
1. Required free software: Setting up your digital studio
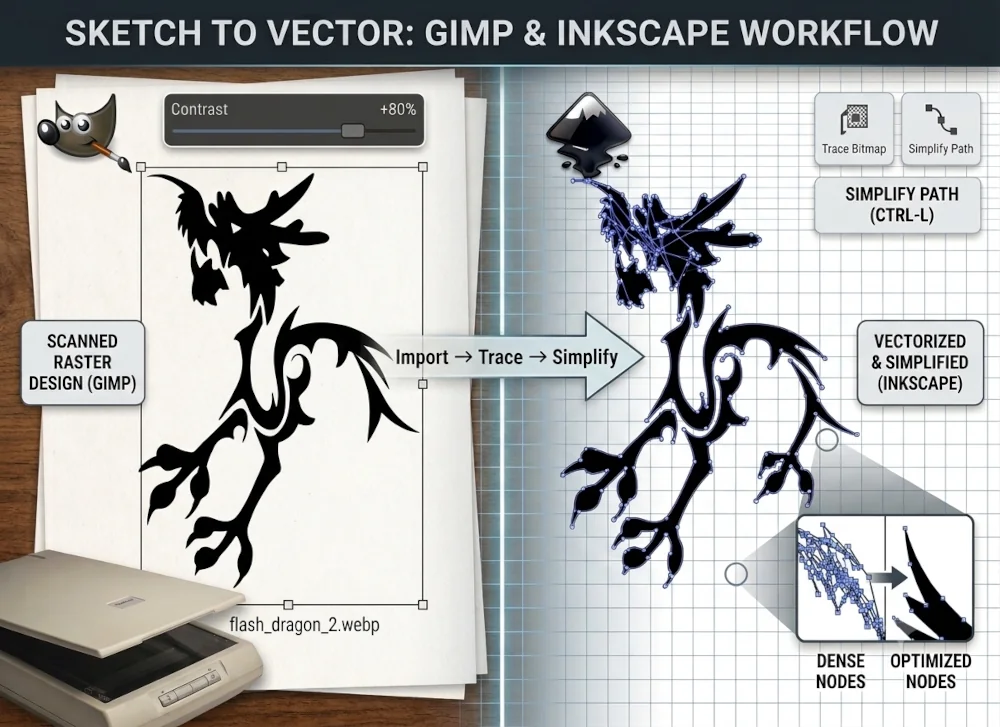
Preparing a high-resolution, custom tattoo design for printing or stencil transfer does not require expensive, industrial publishing programs. We can easily build perfect, clean blueprints using two excellent free software tools:
- The GIMP: An advanced, open-source graphic manipulation program similar to Photoshop, ideal for editing raw photography and cleaning background artifacts.
- Inkscape: A dedicated vector graphics editor similar to Illustrator, perfect for creating mathematically precise shapes that can scale to any print dimension.
2. Preparing the source image: Contrast and sharp edges
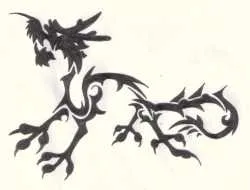
First, draw your initial design template on paper and scan it into your computer to form the base layer of your tattoo. You can also utilize reference images or photos gathered online, provided you ensure they are completely copyright-free.
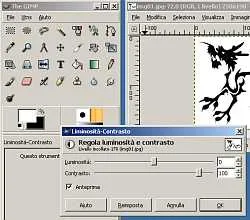
Import your scan into your graphic editor to optimize the overall image contrast. This step is vital to establish sharper edges and completely wipe out distracting background noise or paper texture. By applying a strong contrast correction (roughly +80%) in The GIMP, the lines will become cleanly defined:
Save this optimized file as an uncompressed, high-quality JPEG image. Your initial preparation is now finished, and you are ready to convert this static artwork into a scalable vector template.
3. Vector conversion: Tracing your bitmap in Inkscape
Open Inkscape, select "New Document" from the file manager, and load your file using the Import command. Once the design appears inside your workspace, select it by clicking on it once with your mouse.
Inkscape allows you to automatically convert your static pixels into scalable vector lines that can be infinitely zoomed without ever losing definition or pixelating. To initiate this conversion, navigate to the main toolbar and select Trace Bitmap from under the Path menu:
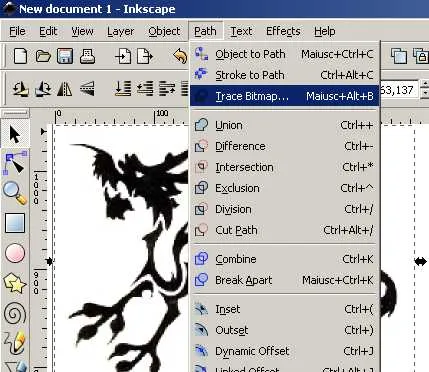
A secondary settings window will appear showing your tracing configurations. To generate clean, crisp tattoo lines, apply the following optimization rules:
- Select Brightness Cutoff: Use this mode to track dark linework against light backgrounds.
- Adjust the Threshold: Tweaking the Brightness Reduction value allows you to naturally expand or lean down the weight of your vector borders.
- Preview the Layout: Click the Update button frequently to audit your linework quality before confirming.
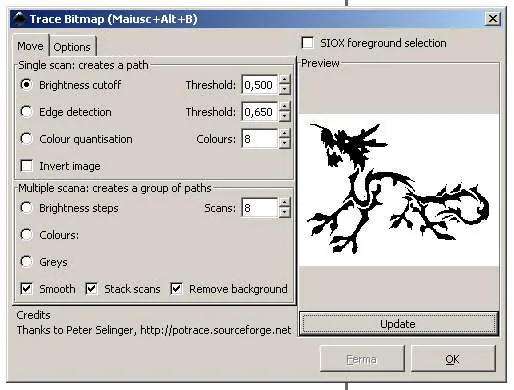
Click OK to complete the action. Inkscape will layer your newly generated vector copy directly over the top of your original JPEG image. Drag the vector artwork slightly to the side to separate the layers, select the old underlying image, and press Delete to clear your workspace. If you accidentally drop the wrong element, hit CTRL+Z to instantly undo the action.
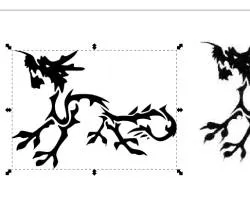
4. Refining the lines: Editing paths, nodes, and curves
If your vector stencil appears completely perfect at this point, your workflow is complete! You can immediately export your artwork using the Export Bitmap operation within the File menu, saving it in your preferred size and format configuration.
However, if you want to manually polish details or adjust specific curves, execute these step-by-step editing operations:
- Activate the Node Tool: Zoom in closely on the target area and select the "Edit paths by nodes" button from the left actions panel. Nodes appear as small squares mapping out curve anchors and corner parameters.
- Manipulate Curve Directions: Clicking an individual square node exposes two extending lines tipped with small circles. Rotating or stretching these circle handles adjusts the direction and severity of the border curve while keeping the node fixed in place.
- Add or Remove Anchors: Double-click directly onto any vector edge line to generate a fresh node, or select an unwanted node and use the dedicated "Delete Node" control icon to erase it.
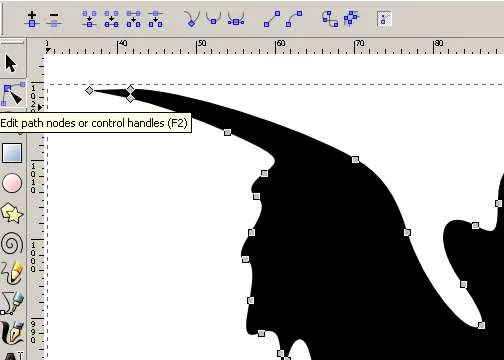

5. Pro optimization: Using the simplify command
Top-Value Production Tip: When importing complex images, tiny artifacts or imperfections along the scanned margins can cause the tracing engine to create thousands of redundant, unnecessary node points. This clutter makes manual editing incredibly tedious and slows down your workflow.
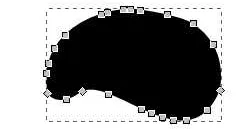
While you could remove these anchors one by one, doing so manually is often unmanageable. Instead, leverage the powerful Simplify command under the Path menu to resolve this issue automatically. You can trigger this function by pressing CTRL+L repeatedly until the lines look beautifully smooth and the excess anchor squares drop away.
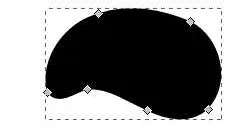
Always remember to run this automatic simplification step before you begin adjusting node anchors manually. Once you are fully satisfied with the flowing edges of your design, save your digital masterpiece. Congratulations—you now possess the core professional skills to build flawless, high-resolution tattoo templates!
Article Discussion
No comments yet... be the first!