
Home made tattoos
In this article:
1. A historical curiosity: Body art without machines
Editorial Note: The following article is presented strictly as an educational and historical curiosity. It documents the traditional, manual methods people used to ink themselves at home in the old days—particularly in alternative subcultures or isolated environments where professional tattoo machines and commercial studios were completely unavailable. This is not tattooing advice.
Out of pure scientific curiosity, our team actually tested this manual method. While it mechanically works, on a quality basis there is absolutely no comparison—a modern tattoo machine beats this setup by far every single time, without the massive hygienic threats. We strongly advise everyone against tattooing themselves without proper training, as this crude method bypasses medical-grade instruments and can lead to severe infections, permanent blurring, or intense allergic reactions. Always rely on a licensed, professional tattooist for body art.
2. Traditional materials and technical setup
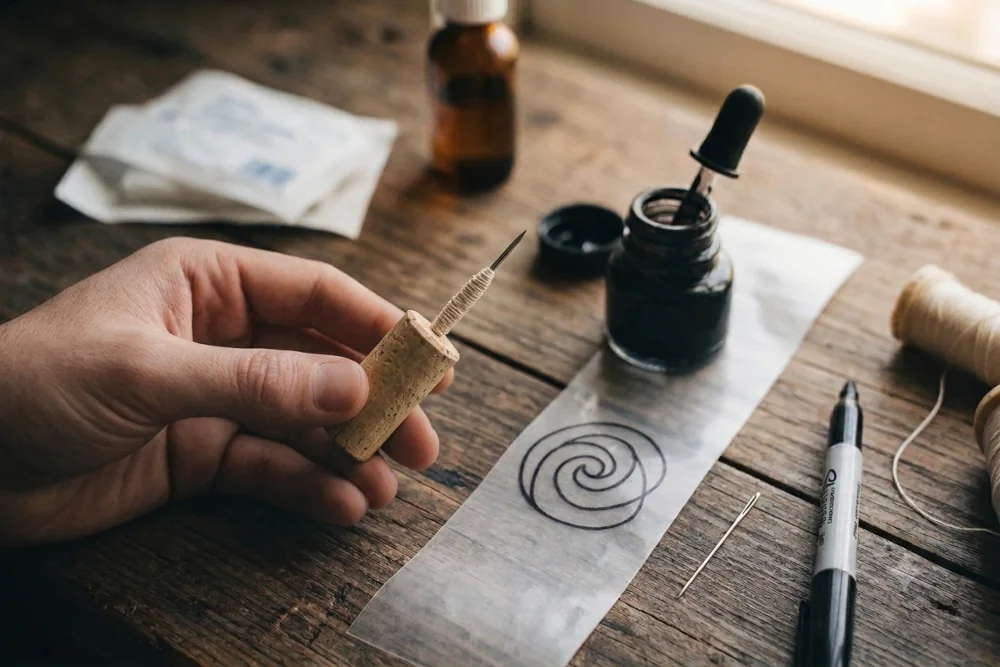
To understand how these tattoos were crafted in the past, here are the core materials that were traditionally required:
- Required Items: A good hand, courage or imprudence, a cork, a needle (better if 2 inches long), a thread of cotton, India ink, transparent slick paper, a permanent marker, a normal marker, disinfectant, and sterile gauze.
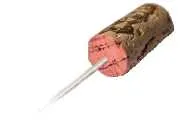
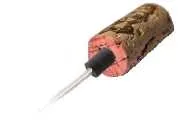
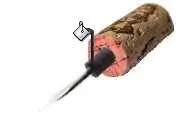
The Tool Setup: Stick the needle halfway into the cork, until about one inch is left out and the needle itself is firm. Tightly wrap the cotton thread around the needle, close to the cork, until you get a small roll about half an inch long and a couple of millimeters thick; this will act as the ink "reservoir." Your "chisel" is now ready.
3. Creating and applying the manual stencil
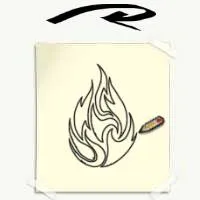
Now you have to prepare the design. Draw it on the transparent paper with a permanent marker, which will remain on the paper without smudging. When your drawing is dry, turn the paper on its back and follow the reversed drawing lines with a marker that does not dry quickly and does not get absorbed by the paper (glossy paper will fit). THIS is the drawing which will be applied to the skin.
Apply the reverse side of the transparent sheet with fresh ink onto the area to be tattooed: the drawing will remain easily "printed" on the skin, as if from a stencil. Hand drawing directly on the skin can be a dangerous alternative: the less accurate the basis, the worse the tattoo.
4. The hand-poke application procedure and tips
Historically, the manual application relied on repeatedly pressing the ink-covered needle into the skin to deposit the pigment. Because manual methods lacked the consistency of modern machinery, maintaining depth control was difficult, and the field of view was frequently obscured by excess ink, requiring constant wiping to track the progress of the design.
This overview is provided purely for historical and educational curiosity. Tattoos created using these non-professional methods historically resulted in significant blurring, high infection rates, and possibly permanent scarring. Professional, licensed studios utilizing sterilized, regulated equipment remain the only safe method for body art.
Article Discussion
No comments yet... be the first!