
Henna tips
In this article:
1. Summer body art: Trying on a temporary look
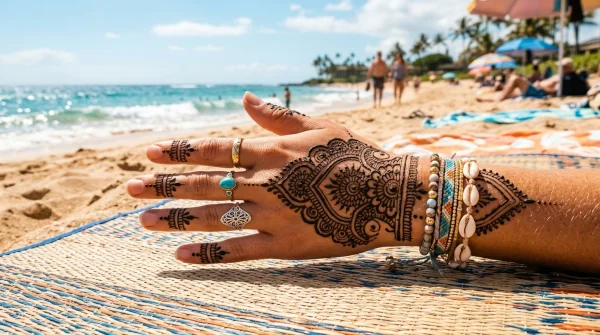
We saw in previous articles some particularities of henna temporary tattoos, and the meaning of some of the main basic patterns.
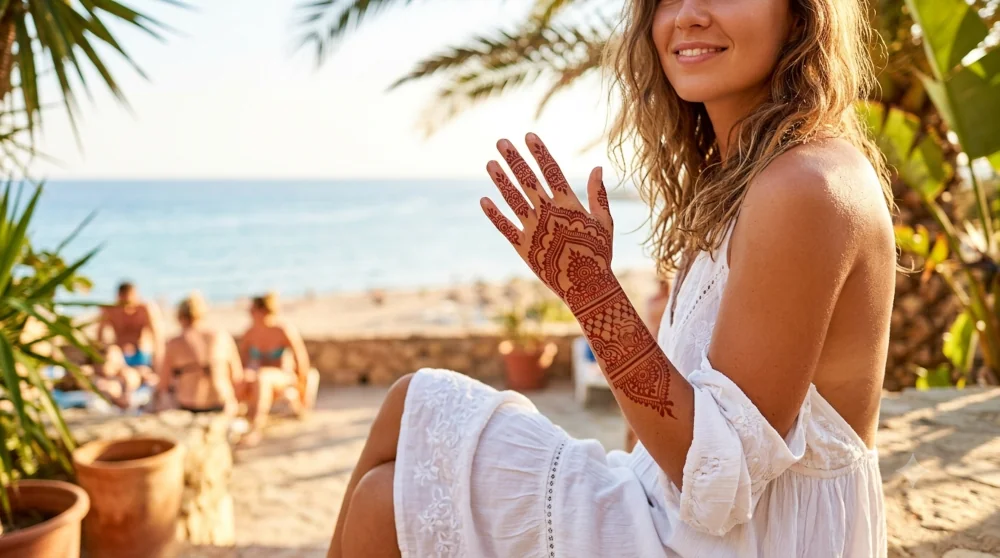
Proceeding into the Summer season, we often feel like leaving most of our heavy clothes behind to uncover wider skin areas. So why not decorate your skin, perhaps with natural henna, to create a striking temporary Summer tattoo? It is an excellent way to test-drive a layout—allowing you to easily replace it with a permanent ink piece at the end of the season if you completely fall in love with its look and feel.
2. What is henna? Understanding pure vs. black pigment
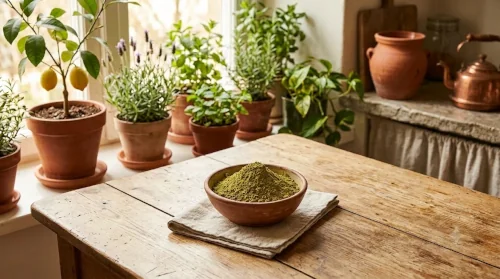
Pure henna is a completely natural, reddish-brown plant substance extracted directly from the leaves of the Lawsonia inermis plant. Unfortunately, synthetic adulterants are frequently added by street vendors to artificially mimic a dark black color—a shade that is completely alien to authentic botanical henna.
Because these chemical dye additives are notorious for triggering intense skin irritation and deep allergic reactions, we strongly suggest using exclusively **body-art pure henna** for your safety. Once applied, the exact length of time you allow the herbal paste to dry on your skin determines just how rich, deep, and satisfying the final color results will become.
3. How to make it last: 5 essential aftercare tips
To help your temporary body art look its best and stay vibrant throughout your vacation, make sure to follow these five fundamental preparation and aftercare steps:
- Cleanse the Skin: Wash the target area thoroughly prior to application, avoiding any moisturizing oils or body lotions that might leave behind an oily barrier.
- Exfoliate the Area: Shave or wax the skin well and complete your manicure ahead of time, effectively eliminating superficial layers of dead skin cells so the dye binds directly to fresh tissue.
- Maximize Curing Time: After finishing your henna design application, let the damp paste dry out completely undisturbed for at least 7 to 8 hours. This deliberate curing timeline guarantees you get a remarkably strong reddish-brown color that can endure for nearly a full month.
- Avoid Water Exposure Early: Gently flake off the dry, excess crust using a clean spoon or a flat plastic spatula. Strictly avoid using water on the area during the first 24 hours to let the stain oxidize properly.
- Seal the Design: Once the damp henna paste is completely dry to the touch, lightly dab or spray a traditional mixture of fresh lemon juice and sugar directly over the dried mud. The sugar acts as a natural adhesive, keeping the paste flexible so it sticks to the skin longer without flaking off. After hours of curing, scrape the dry crust away—do not wash it with water—and rub pure olive or coconut oil over the newly stained skin to protect it from moisture and help the color mature beautifully.
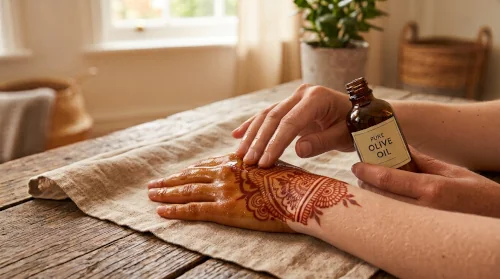
Following these steps ensures you can head out and proudly show off your custom body art, keeping it looking flawless for the entire length of your Summer holiday!
Article Discussion
No comments yet... be the first!